Deploying Kubernetes with Azure
I’m loving everything related to containers at the moment, in Azure we have a number of ways that we can deploy our container work loads


I’m loving everything related to containers at the moment, in Azure we have a number of ways that we can deploy our container work loads:
Each brings with it its own benefits and challenges some of which are listed below:
- Container Instances & App Services are great for low complexity single container deployments, using these services developers need not be concerned about creating & managing a cluster.
- AKS(PREVIEW) is a Kubernetes specific solution which is great for building highly available complex container deployments, AKS clusters require minimal maintenance due to built-in support for auto-scaling, auto-patching, auto-updates etc.
- ACS supports deploying multiple Orchestrators and is also great for complex container workloads but the burden of maintaining your cluster falls mainly on you.
- ServiceFabric is a battle tested distributed system which now also has the ability to orchestrate container workloads along side its native programming models i.e. Reliable Services and Reliable Actors.
In this post I will demonstrate the various ways of deploying a Kubernetes cluster on Azure, Kubernetes is a popular container orchestration solution. A container orchestrator allows us to amongst other things automate deployments, scale our workloads and monitor our deployments. There are multiple ways we can deploy Kubernetes on Azure:
- Azure Container Service(ACS)
- Portal or CLI
- ACS-Engine
- Azure Container Service(AKS)
- Manually using IaaS and core compute i.e. VMs/VM Scalesets/VNET’s etc, this method is out of scope of this blog post.
Requirements
To follow along with the steps in this blog post you will need a Azure Subscription and the Azure Cross Platform CLI installed, this is available through the Azure Cloud Shell or to install on your local machine - https://docs.microsoft.com/en-us/cli/azure/install-azure-cli?view=azure-cli-latest If you have the tooling installed locally you need to first login to your subscription, in my case I will be using Windows Subsystem for Linux & Ubuntu.
$ az login
The login command will output further steps to the console which must be performed in your browser, once authenticated we can move on to creating our cluster. [ om/content/images/2018/01/login.jpg)
ACS
First step is to create a new Azure Resource Group which will contain all the resources which will be provisioned for our cluster, we need to provide a name and the region where we would like to create it.
$ az group create --name geacsclusterrg --location westeurope
In the output from the command we should see "ProvisioningState Succeeded" [ om/content/images/2018/01/create-rg.jpg) We can now provision the cluster - To do this we need to provide a number of arguments including the Resource Group name created in the previous step, Cluster Name, the SSH key which we will use to authenticate with the head node and admin credentials for each node in the cluster.
$ az acs create --orchestrator-type=kubernetes \
--resource-group geacsclusterrg \
--name=myclustername\
--agent-count=2 \
--generate-ssh-keys \
--windows --admin-username gareth \
--admin-password “MyStrongPassword”
The command above will create a 3 node cluster, 1 head node(Linux) and 2 agents(Windows), during the course of the deployment it will also generate an SSH KeyPair (this will be located in [User Profile]\.ssh\) these keys will be used to manage our cluster. Once the command completes it will output a json result and again we should see "provisioningState Succeeded" if the deployment was successful. [ om/content/images/2018/01/CreatedCluster.png) If you login to the Azure Portal and open the ResourceGroup which you created you will see all the platform specific resources which were deployed to create your ACS Cluster. [ If you login to the Azure Portal and open the ResourceGroup which you created you will see all the platform specific resources which were deployed to create your ACS Cluster. [ om/content/images/2018/01/clusterportal1.png)
Connecting to our Cluster
To manage our cluster we need the kubectl tool we can download the binary manually using the instructions detailed in the kubernetes docs or we can use the Azure CLI using the following command.
$ az acs kubernetes install-cli
[ On linux this command will place the kubectl binary somewhere on your PATH but on Windows you may want to use the following switch --install-location "%ProgramFiles(x86)%\kubernetes\kubectl.exe" to specify a download location. You would then need to add the "%ProgramFiles(x86)%\kubernetes" folder to the PATH. To connect to our cluster we need to download our kubeconfig & test the connection by getting a list of nodes in the cluster we can do this using the following commands.
$ az acs kubernetes get-credentials --resource-group=geacsclusterrg --name=myclustername
$ kubectl get nodes
[ Kubernetes also comes with a great web dashboard when deploying on ACS the dashboard is included automatically, we can access the dashboard over a SSH tunnel.
$ kubectl proxy
[ om/content/images/2018/01/proxy.png) We can now open a browser and navigate to http://127.0.0.1:8001/ui/(If the browser window is blank make sure to include a trailing forward slash at the end of the url)
AKS
AKS simplifies managing a kubernetes cluster, the service is currently in preview and during this period there are a number of limitations:
- Manually register the AKS Azure resource provider
- We can also only deploy Linux agents(Windows support is coming).
So to create our cluster we run the following commands, first we need to ensure the the Azure resource provider is registered for the Container Service.
$ az provider register -n Microsoft.ContainerService
[ Then we can create the Azure Resource Group which will contain our AKS instance
$ az group create --name geacsclusterrg --location westeurope
[ Once the Resource Group is successfully created we start the deployment of our AKS instance.
$ az aks create --resource-group geacsclusterrg --name myclustername --node-count 2 --generate-ssh-keys
The command above will create a 2 node cluster(Linux) with a managed head node, during the course of the deployment it will also generate an SSH KeyPair (this will be located in [User Profile]\.ssh\) these keys will be used to manage our cluster. Once the command completes it will output a json result and we should see "provisioningState Succeeded". [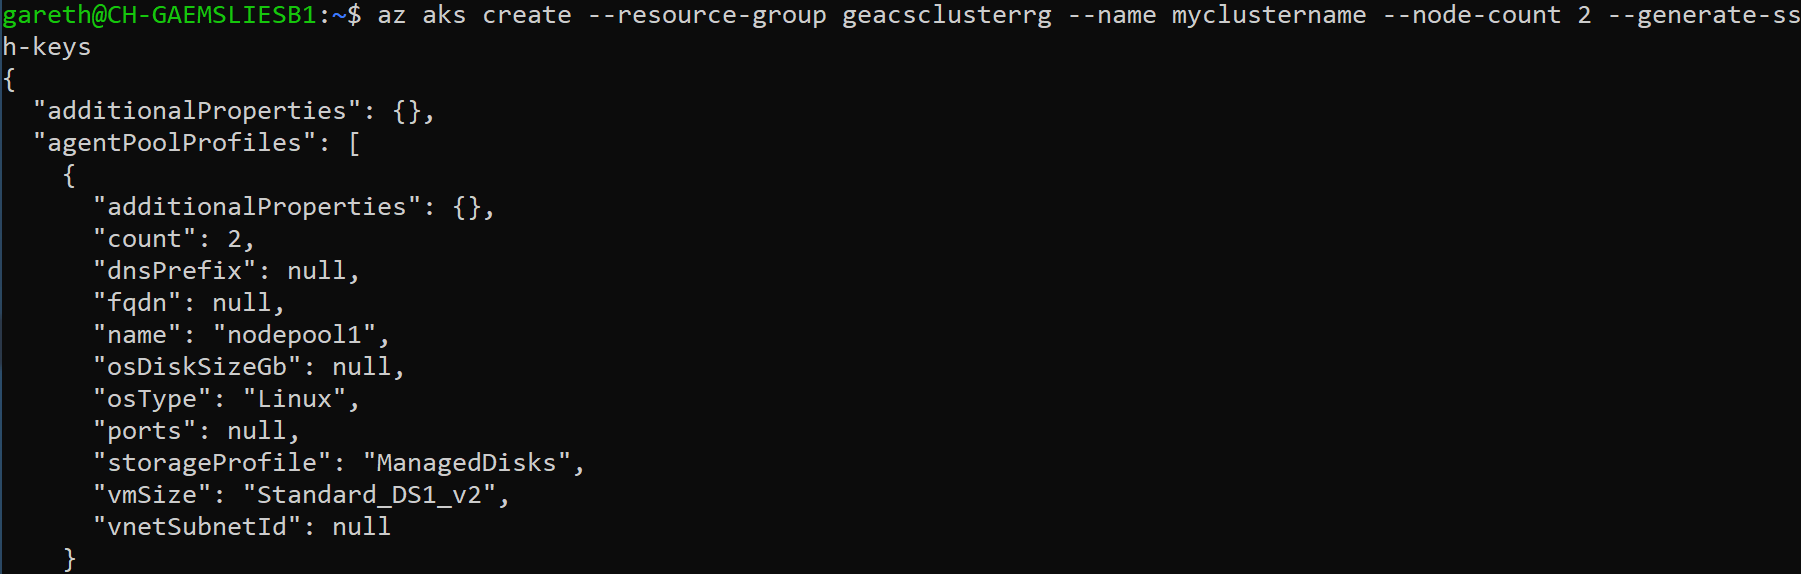 If you login to the Azure Portal and open the ResourceGroup which you created you will see all the platform specific resources which were deployed to create your ACS Cluster. What is interesting is that in actual fact we see two new Resource Groups in our Azure subscription, the first being the one we created which contains a "Container Service" resource. [
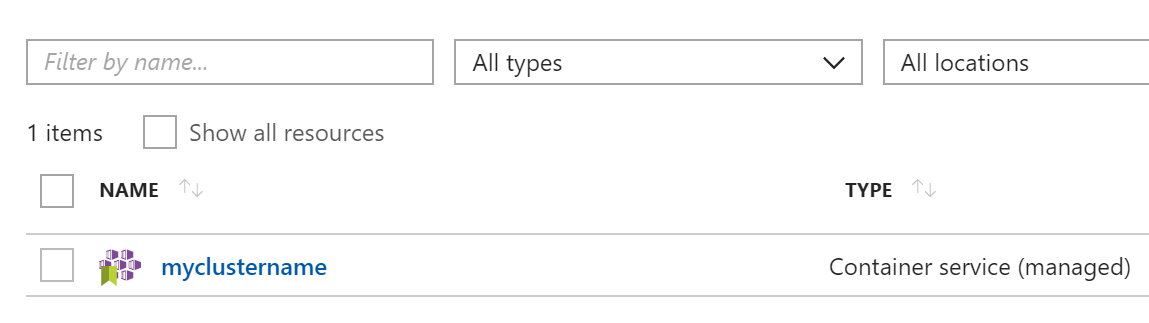 In addition to the Resource Group above we get another which was created during the deployment and contains all the resources Compute, Storage Network etc for our worker nodes. [
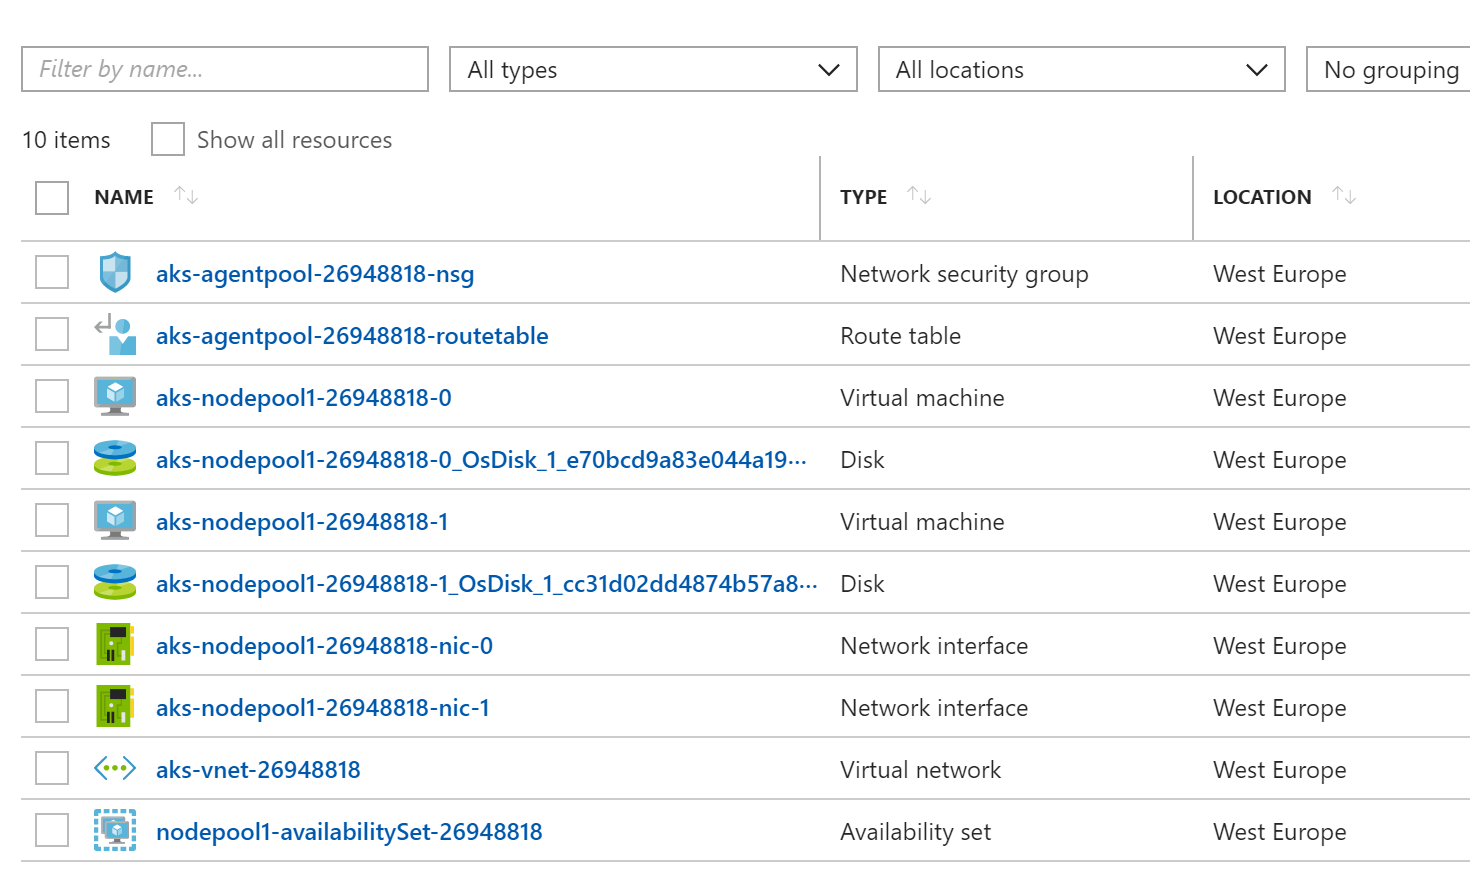
Connecting to our Cluster
The steps to connect to our cluster are very similar to ACS, first we need the kubectl tool. We can download the binary manually using the instructions detailed in the kubernetes docs or we can use the Azure CLI using the following command.
$ az aks install-cli
[ On linux this command will place the kubectl binary somewhere on your PATH but on Windows you may want to use the following switch --install-location "%ProgramFiles(x86)%\kubernetes\kubectl.exe" to specify a download location. You would then need to add the "%ProgramFiles(x86)%\kubernetes" folder to the PATH. To connect to our cluster we need to download our kubeconfig & test the connection by getting a list of nodes in the cluster we can do this using the following commands.
$ az aks get-credentials --resource-group=geacsclusterrg --name=myclustername
$ kubectl get nodes
[ Note that in the case of AKS we only deploy the agents, the Head nodes are managed for us by the platform. Kubernetes also comes with a great web dashboard - when deploying on AKS the dashboard is included automatically, we can access the dashboard over a SSH tunnel.
$ az aks browse --resource-group=geacsclusterrg --name=myclustername
[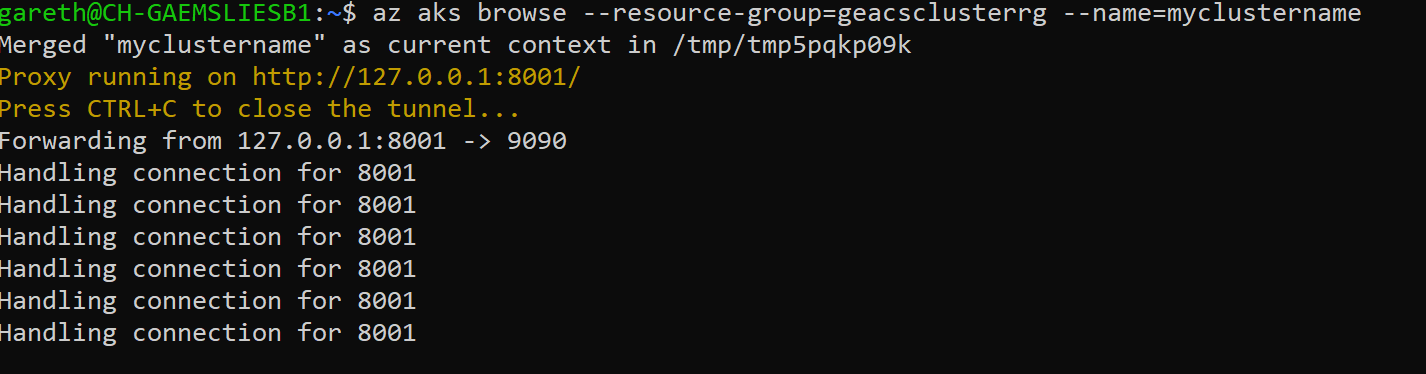 We can now open a browser and navigate to http://127.0.0.1:8001/ui/(If the browser window is blank make sure to include a trailing forward slash at the end of the url)
ACS-Engine
ACS-Engine allows us to define complex container deployments for Azure we describe them as JSON and the tool then converts this JSON to a set of ARM Templates which can be deployed to Azure. I chose to build acs-engine from source and in my case I used the Windows Subsystem for Linux & Ubuntu, but you can also download pre-compiled binaries - for more details see - https://github.com/Azure/acs-engine/blob/master/docs/acsengine.md Before we continue we need to:
- Generate a SSH KeyPair - https://github.com/Azure/acs-engine/blob/master/docs/ssh.md#ssh-key-generation
- Create a Service Principal with read/write permissions on your subscription -https://github.com/Azure/acs-engine/blob/master/docs/ssh.md#ssh-key-generation
Next we can create a cluster definition - The JSON below will create a hybrid Windows/Linux ACS cluster using Kubernetes, replace the values for keyData and ServicePrincipal with the values you created above.
{
"apiVersion": "vlabs",
"properties": {
"orchestratorProfile": {
"orchestratorType": "Kubernetes"
},
"masterProfile": {
"count": 1,
"dnsPrefix": "gemycluster",
"vmSize": "Standard_A2"
},
"agentPoolProfiles": [
{
"name": "windowspool1",
"count": 2,
"vmSize": "Standard_A3",
"availabilityProfile": "AvailabilitySet",
"osType": "Windows"
},
{
"name": "linuxpool1",
"count": 1,
"vmSize": "Standard_A2",
"availabilityProfile": "AvailabilitySet",
"osType": "Linux"
}
],
"windowsProfile": {
"adminUsername": "gareth",
"adminPassword": "MyStringPassword"
},
"linuxProfile": {
"adminUsername": "azureuser",
"ssh": {
"publicKeys": [
{
"keyData": "XXXXXXXXXXXXXXXXXXXXXXXXXXXXXXXXXXXXXXXXXXXX"
}
]
}
},
"servicePrincipalProfile": {
"clientId": "XXXXXXXXXXXXXXXXXXXXXXXXXXXXXXXXXXXXXXXXXXXX",
"secret": "XXXXXXXXXXXXXXXXXXXXXXXXXXXXXXXXXXXXXXXXXXXX"
}
}
}
Save the text above as a file called acs-kubernetes.json, we can then convert the JSON to the equivilent ARM Templates using the following command.
$ ./bin/acs-engine generate $HOME/acs-kubernetes.json
[ The deployment files will be placed in the _output folder [
 To deploy the generated ARM Template we can use the Azure CLI, first create the Resource Group.
$ az group create --name geacsclusterrg --location westeurope
Then finally run the deployment script
$ az group deployment create -g geacsclusterrg -n myclusterdeploy \
--template-file azuredeploy.json \
--parameters @azuredeploy.parameters.json
[ In the JSON output look for the property MASTERFQDN for example in this case mine would be gemycluster.westeurope.cloudapp.azure.com , we will use this in the next section. If you login to the Azure Portal and open the ResourceGroup which you created you will see all the platform specific resources which were deployed to create your ACS Cluster. [
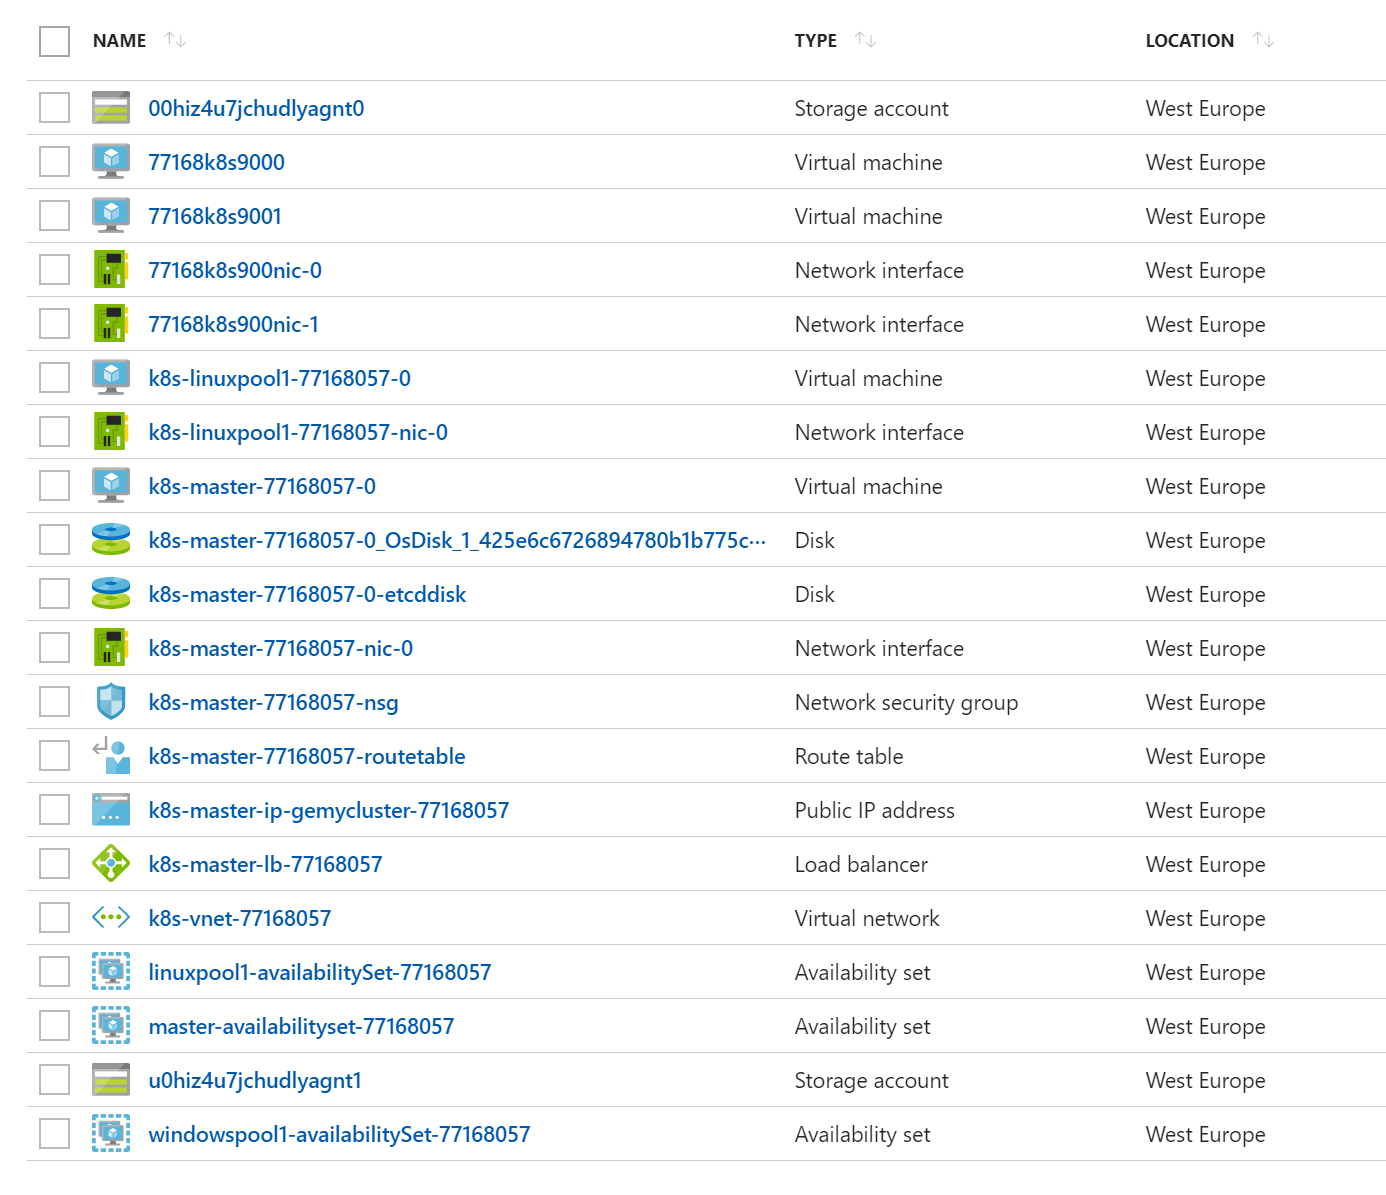
Connecting to our Cluster
If you haven't already downloaded the binary you can do so manually using the instructions detailed in the kubernetes docs making sure to match the version used for the cluster. Can also be achieved through the Azure CLI and the --client-version switch. Its best to place the kubectl binary somewhere on your PATH on Windows you may want to place it in location like_ "%ProgramFiles(x86)%\kubernetes\kubectl.exe" and then you_ need to add the "%ProgramFiles(x86)%\kubernetes" folder to your PATH environment variable. To connect to our cluster we also need to download our kubeconfig & test the connection by getting a list of nodes in the cluster we can do this using the following commands. First we need to download the kubeconfig from the newly created master node on linux you can execute the following commands.
$ scp azureuser@gMASTERFQDN:.kube/config .
$ export KUBECONFIG=`pwd`/config
[
$ kubectl get nodes
[ ACS-Engine's deployment of kubernetes also includes a great web dashboard we can access the dashboard over a SSH tunnel.
$ kubectl proxy
[ We can now open a browser and navigate to http://127.0.0.1:8001/ui/(If the browser window is blank make sure to include a trailing forward slash at the end of the url)
Summary
There you go we have successfully deployed our first kubernetes cluster on Azure! As we saw there are multiple strategies for deploying our container workloads to Azure, its up to you which you choose. Once we successfully completed the steps above we should be looking at the Kubernetes dashboard displayed below. [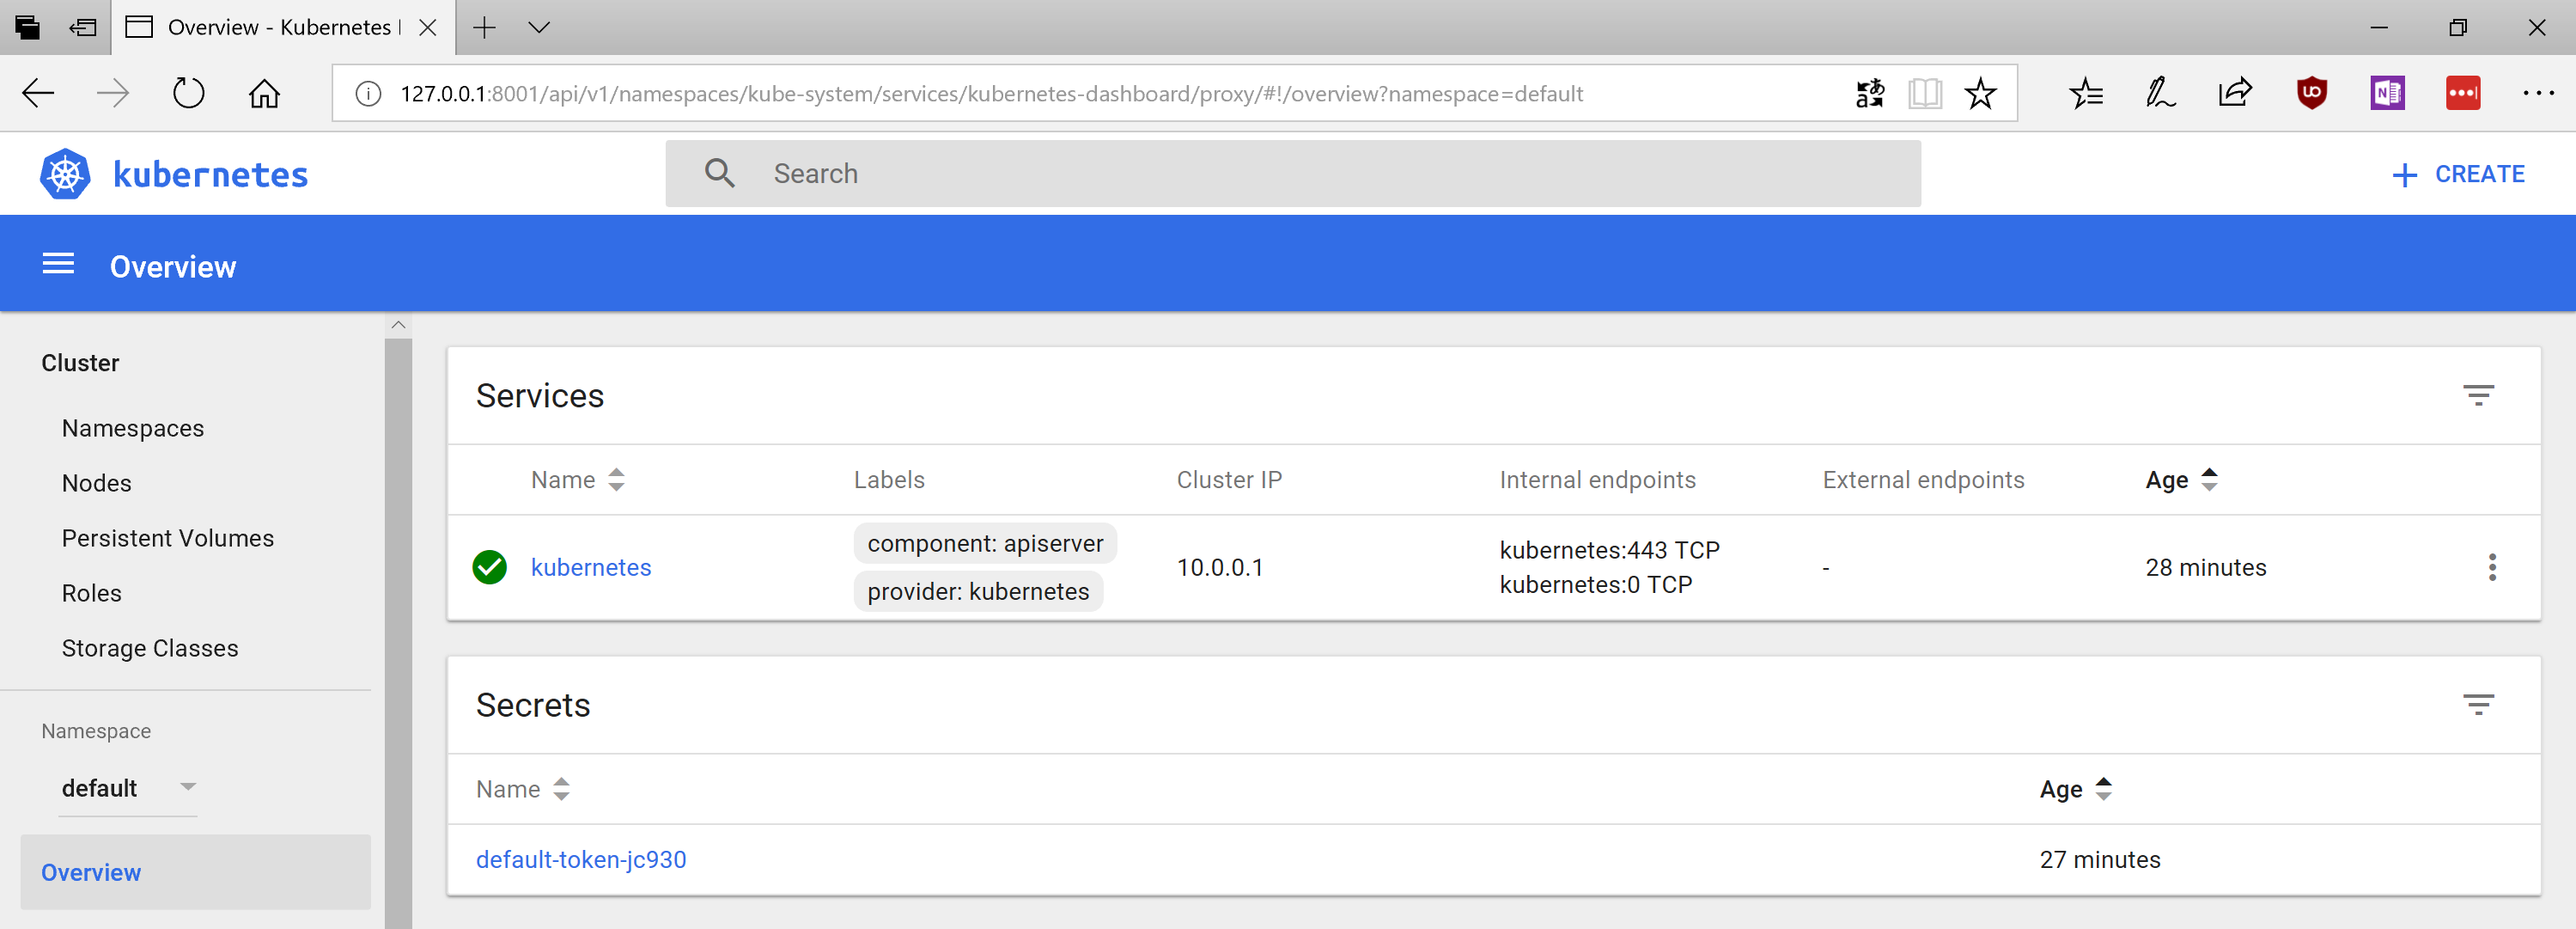 In the next post we will look at deploying an application to our cluster.